9 October 2026
Bespoke Wall Art: How to Create a Piece for Your Room
Plan wall art around your room, taste and budget. Learn what to include in a brief and how a custom art print differs from a handmade commission.
By Ben Gordon
By Ben Gordon · 2 September 2026 · Updated 25 September 2026 · 6 min read
Turn an AI image into a wall print with practical advice on resolution, cropping, paper and framing—or create and order a new piece with Create Prints.
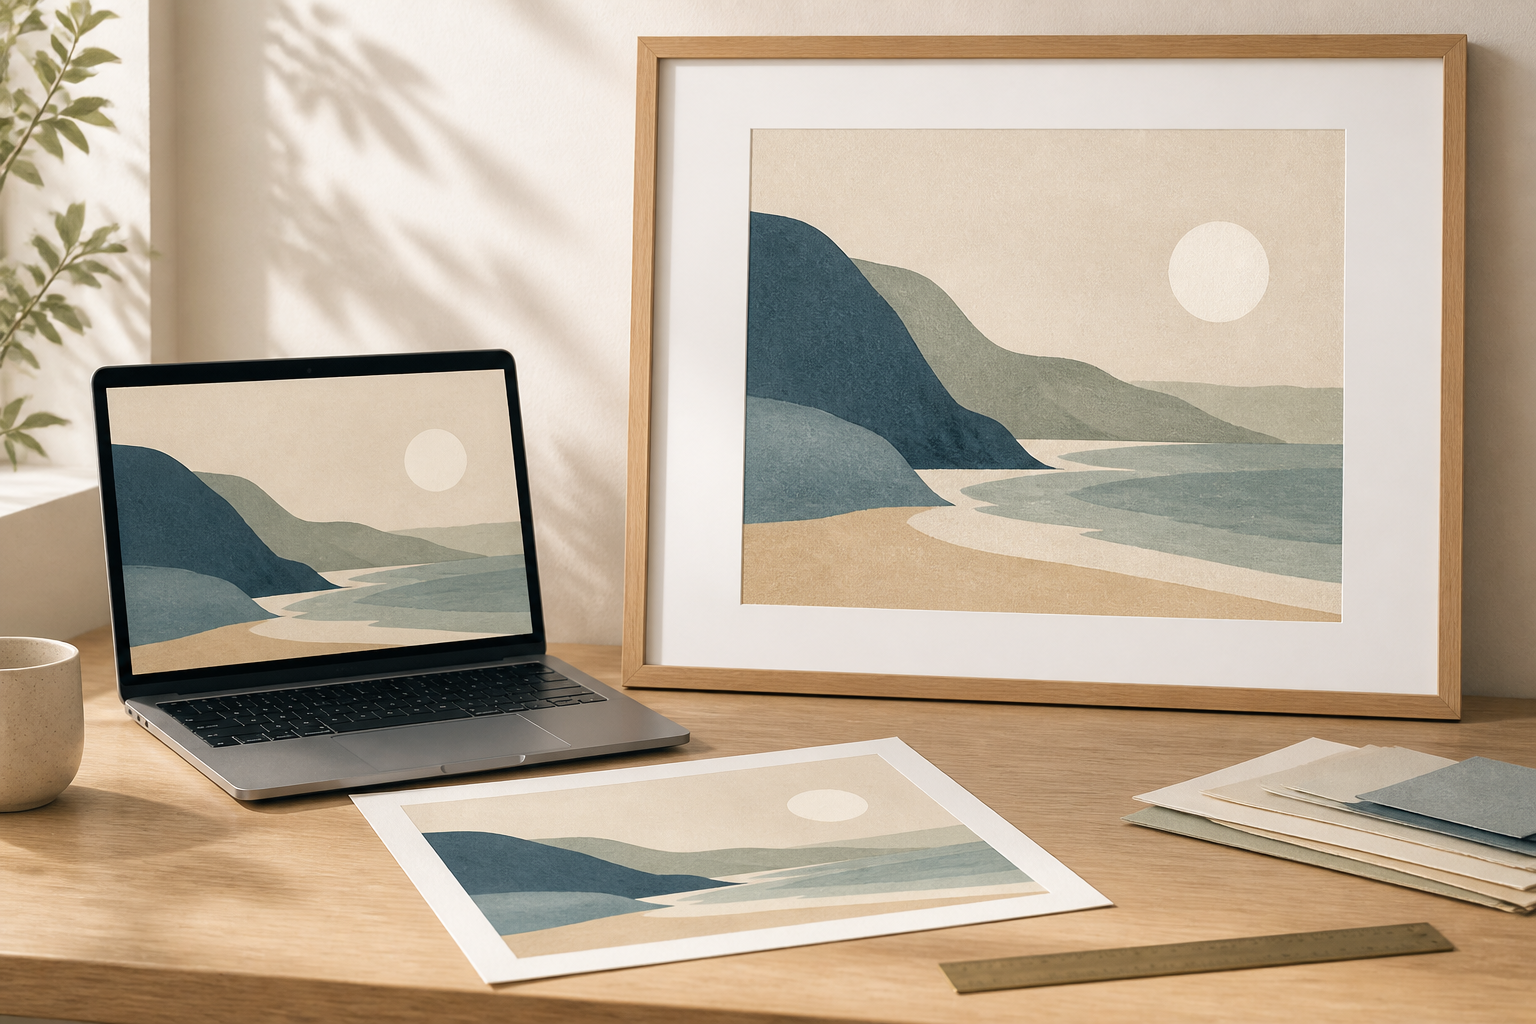
To print AI art, start with the best-quality image available, choose a print size and check that the file has enough detail for it. Then review the crop and choose your paper and framing. You may need to enlarge the image, but not every file needs upscaling.
If you would rather create and order your artwork in one place, Create Prints lets you describe an idea or upload an image for visual guidance. You can then choose a size, frame and optional mount, and we prepare the artwork for your order.
The right approach depends on whether you already have an image you want to keep or want to create something new for your room.
You can prepare an existing image for a print service that accepts uploaded artwork. There is no need to recreate it just because it was made with AI.
Use the highest-quality download available from the tool you used to create the image. Avoid screenshots and copies saved from a messaging app, which may be smaller or compressed.
Check the image itself before thinking about print quality. Look for misspelt text, odd facial details, broken lines or objects that do not quite make sense. A larger print can make these flaws easier to notice.
Measure the space where the print will hang. Consider the full framed dimensions, including any mount, rather than just the image area. Marking the outline with paper can help you judge the scale before ordering.
Next, compare the image's shape with the print you want. A square image will need cropping or borders to fit a rectangular sheet. Check that the crop leaves enough room around the subject; stretching the image to fit will distort it.
Pixel dimensions tell you how much image data you have. Print resolution, measured in pixels per inch (PPI), tells you how closely those pixels are packed on paper.
For example, a 3,000 × 3,000-pixel image prints at 300 PPI when it is 10 × 10 inches, or 25.4 × 25.4 cm. Print the same file at twice that width and height, and its resolution falls to 150 PPI.
A target of 300 PPI is a common starting point for detailed prints viewed close up, but follow your printer's requirements for the size and material you choose. Adobe's guide to print resolution explains the relationship in more detail.
Changing a file's resolution label to “300 PPI” without adding pixels does not add detail. If the file is too small, you can choose a smaller print, export a higher-resolution version or consider upscaling.
An upscaler adds pixels to make a larger image. It can improve the appearance of an enlargement, but it cannot guarantee that fine details will be accurate. Compare the result with the original, paying particular attention to faces, lettering and textured areas.
If you are unsure whether the file will work at your chosen size, ask the print service to assess it before you order. For a large or colour-sensitive piece, a small proof print can be useful.
Follow the service's instructions for file format, colour profile, borders and any extra image area needed around the edges. Keep an untouched copy of your original file so you can make changes without losing it.
Review the final preview carefully. Confirm the crop, orientation and dimensions, and check whether the order includes a frame or arrives as an unframed print.
If you are starting with an idea, Create Prints brings artwork creation and ordering together. You can use words or an image for visual guidance, then choose how you want the finished piece presented.
Prints are made to order, with delivery available to Great Britain and the United States. You can start creating your print or browse the shop for an existing design.
Already have an image made in ChatGPT or Midjourney? You can print it using the Create Prints plugin or MCP connection. This is a separate route from uploading an image as visual guidance for a new artwork.
A giclée is a fine-art inkjet print. The term describes the printing method; the paper, inks and source image also affect the result. Look at the product details so you know what you are ordering.
Think about the finish in the context of your room. A mount adds space around the image and increases the overall framed size. A simple frame can suit a busy composition, while a warmer frame colour can complement wood furniture and neutral walls.
If you already own a frame, check its dimensions and mount opening before choosing the print size. For more ideas, browse prints by room.
No. It depends on the file's pixel dimensions and the intended print size. Check those against your printer's requirements before enlarging the image.
Yes. You can print an image made in ChatGPT or Midjourney using the Create Prints plugin or MCP connection.
A small screen can hide limited resolution and image defects. Enlarging the picture onto paper makes them more visible. Check the original file at a larger scale and ask your printer whether it is suitable for the size you want.
Choose the format that suits you. A framed option saves you arranging a frame separately; an unframed print can make sense if you already have a suitable frame. Check the available options and dimensions before ordering.
Whether you are printing an existing image or creating a new one, choose the size first and check the artwork before placing the order. Those two steps will help you make a more confident choice.
Ready to make something for your room? Create your own print, or explore the print collections for inspiration.
Every print is analysed for colour and room fit — or describe your space and we'll make something for it.
9 October 2026
Plan wall art around your room, taste and budget. Learn what to include in a brief and how a custom art print differs from a handmade commission.
By Ben Gordon
4 October 2026
Bring artwork together through colour, subject, frames or spacing. Practical ideas for choosing a pair, adding to an existing print and planning a gallery wall.
By Ben Gordon
25 September 2026
Print a ChatGPT image as a poster or framed print with the Create Prints plugin. Sizes, prices and delivery times for Great Britain and the US.
By Ben Gordon